VIII. PROCESS HOURS
In the Hours tab fill in the Date, Employee ID, Earning ID and Work Code. Then enter the Pay Hours, Pay Rate, Bill Hours and Bill Rate fields.
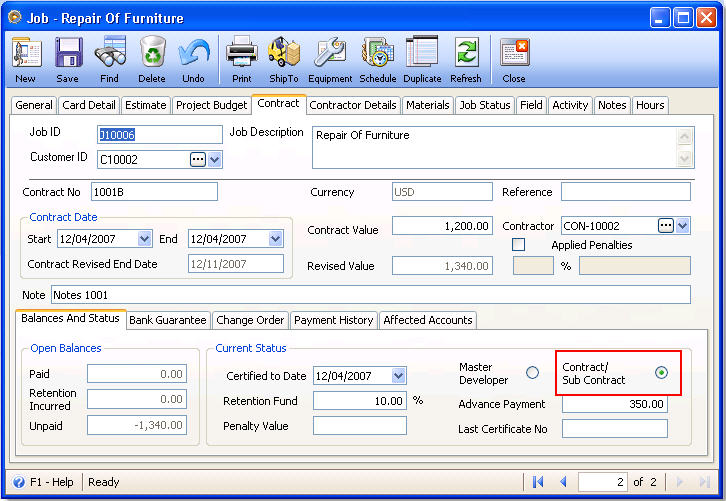
![]() Note that only jobs set as Contractor/Sub Contractor are allowed to process paycheck/invoice. Therefore, for those jobs set as Master Developer, Process Hrs button will not be shown in the toolbar.
Note that only jobs set as Contractor/Sub Contractor are allowed to process paycheck/invoice. Therefore, for those jobs set as Master Developer, Process Hrs button will not be shown in the toolbar.
Notice that the previous job record (J10005) that is used in the previous illustrations is not used in this example since that job (J10005) is set as Master Developer. To allow the Process Hours feature to work, the job should be set as Contractor/Sub Contractor. Job record (J10006) will be used to explain how this process works.
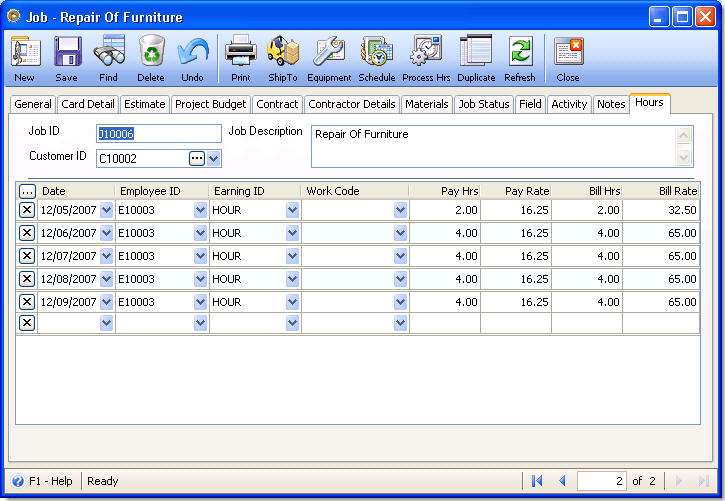
When all information is entered in the Hours tab correctly, click Process Hrs button.
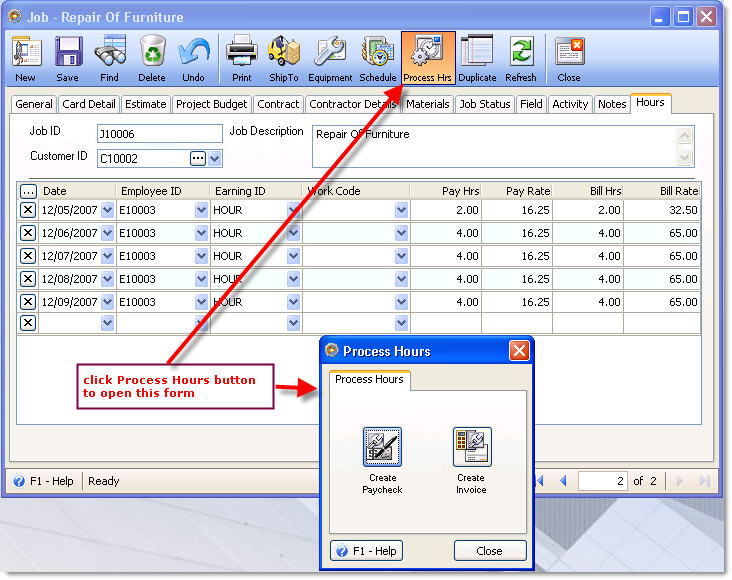
![]() Click Create Invoice button to create an invoice for the customer you have specified in the Jobs form. To view, verify, post or print that invoice you will need to go to Sales menu > Existing Invoices and find that invoice.
Click Create Invoice button to create an invoice for the customer you have specified in the Jobs form. To view, verify, post or print that invoice you will need to go to Sales menu > Existing Invoices and find that invoice.
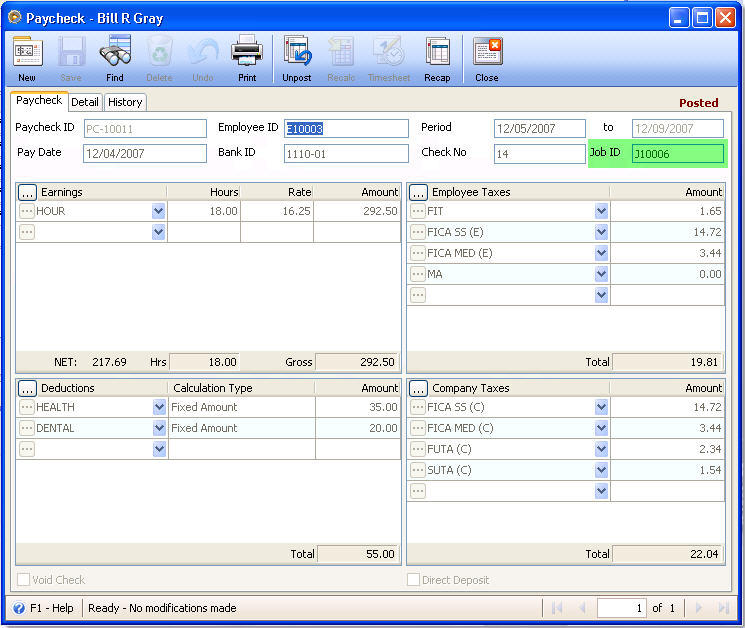
![]() Click Create Paychecks button to create a paycheck for the employee you have specified in the Jobs form – Hours tab. To view, verify, post or print that paycheck you will need to go to Payroll menu > Existing Paychecks and find that paycheck.
Click Create Paychecks button to create a paycheck for the employee you have specified in the Jobs form – Hours tab. To view, verify, post or print that paycheck you will need to go to Payroll menu > Existing Paychecks and find that paycheck.
Example:
Invoice created from Process Hours.
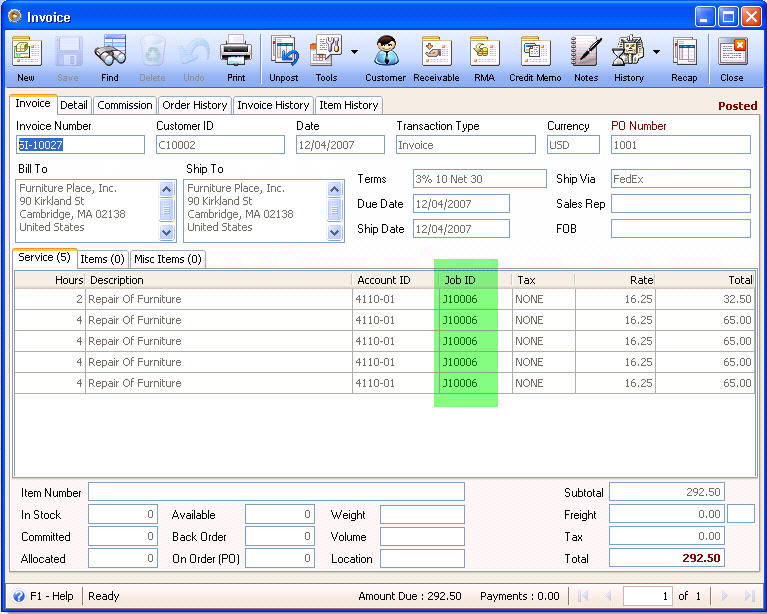
Paycheck created from Process Hours.
Move to the next topic: Chapter IX : Inventory Issue