Creating Custom Report
The following steps will guide you on how to create custom reports via the Report Designer.
1. From the Report Menu > click New Report Designer to open the Report Designer form. The Report Designer is a tool used for editing or adding VisionCore reports.
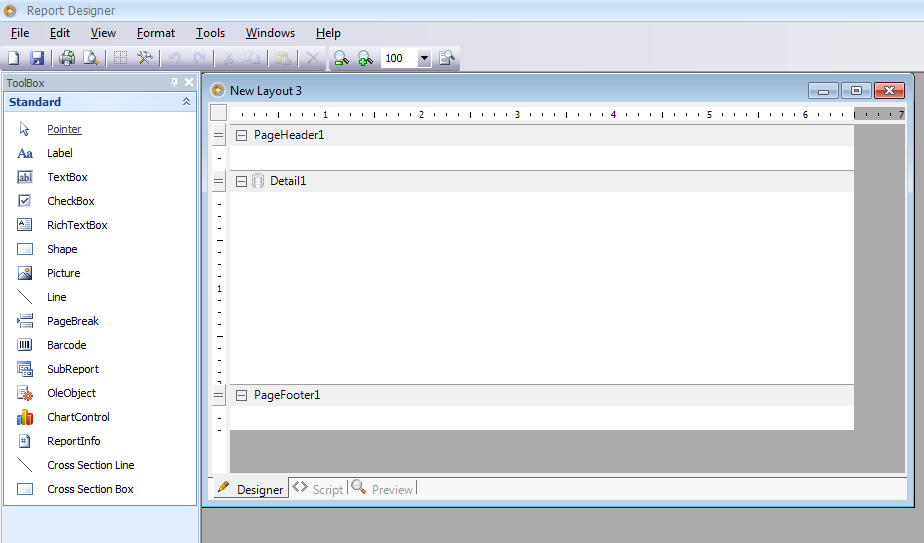
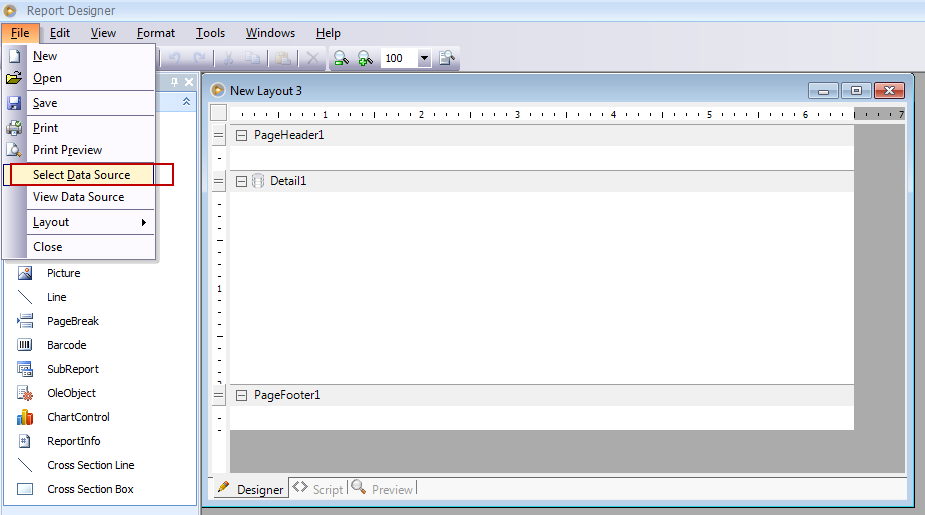
2. The Report Designer has an easy to manage features where you can just drag and drop onto your layout area. To select a data source, click the File menu > Select Data Source.
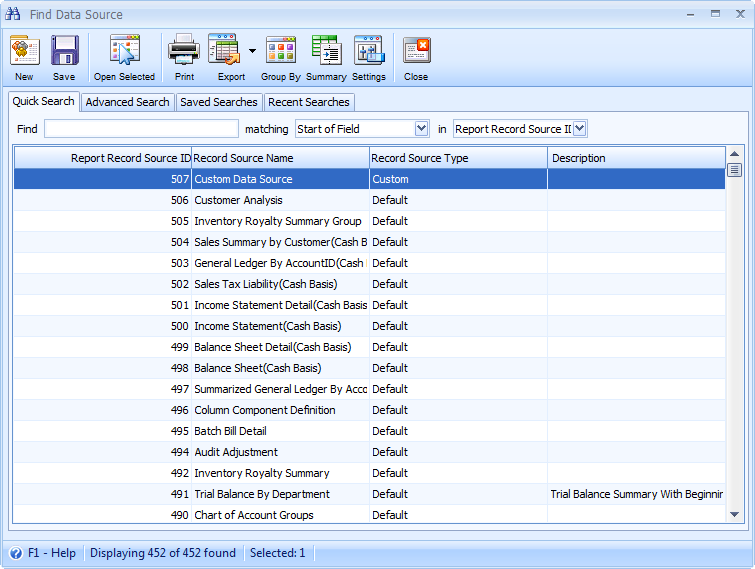
When Find Data Source form opens, you can either use your created data source or you can use VisionCore's data sources.
To configure the report layout or design, you may drag and drop fields from the Explorer area (top right part of the designer) onto the layout area.
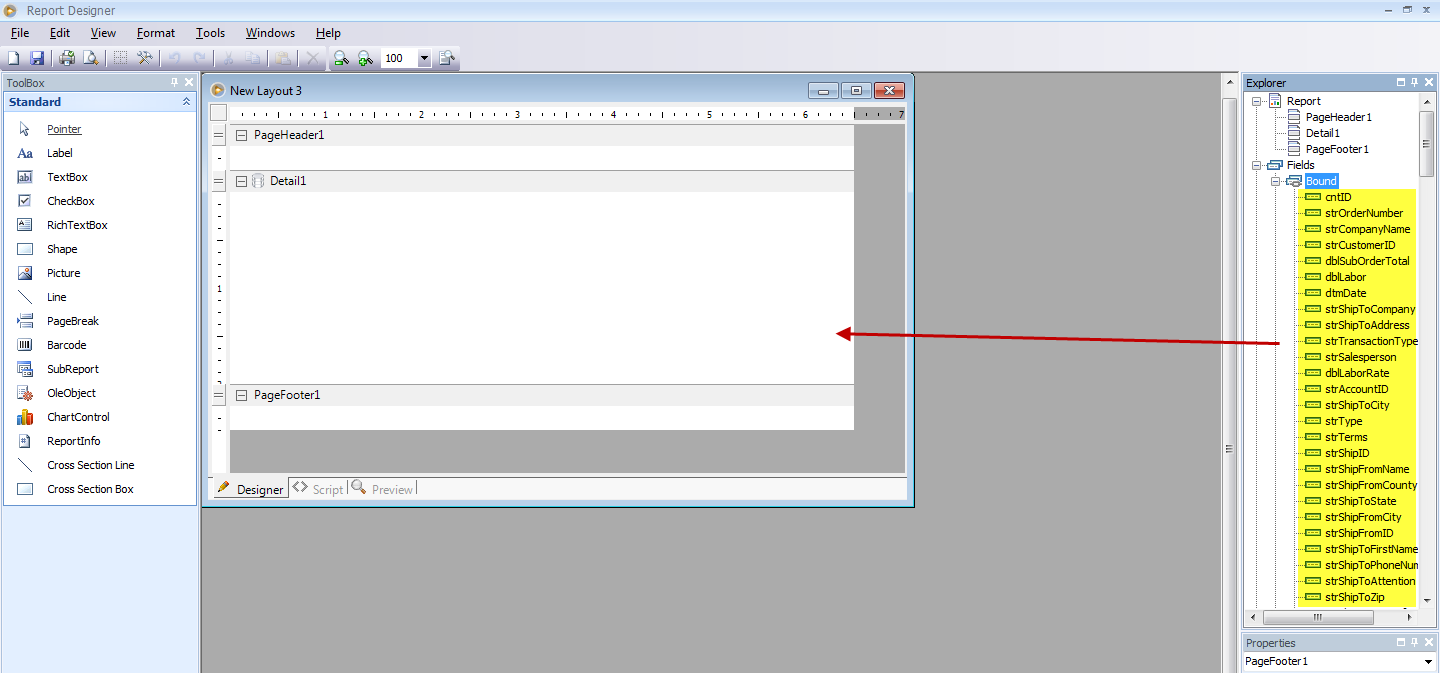
Example:
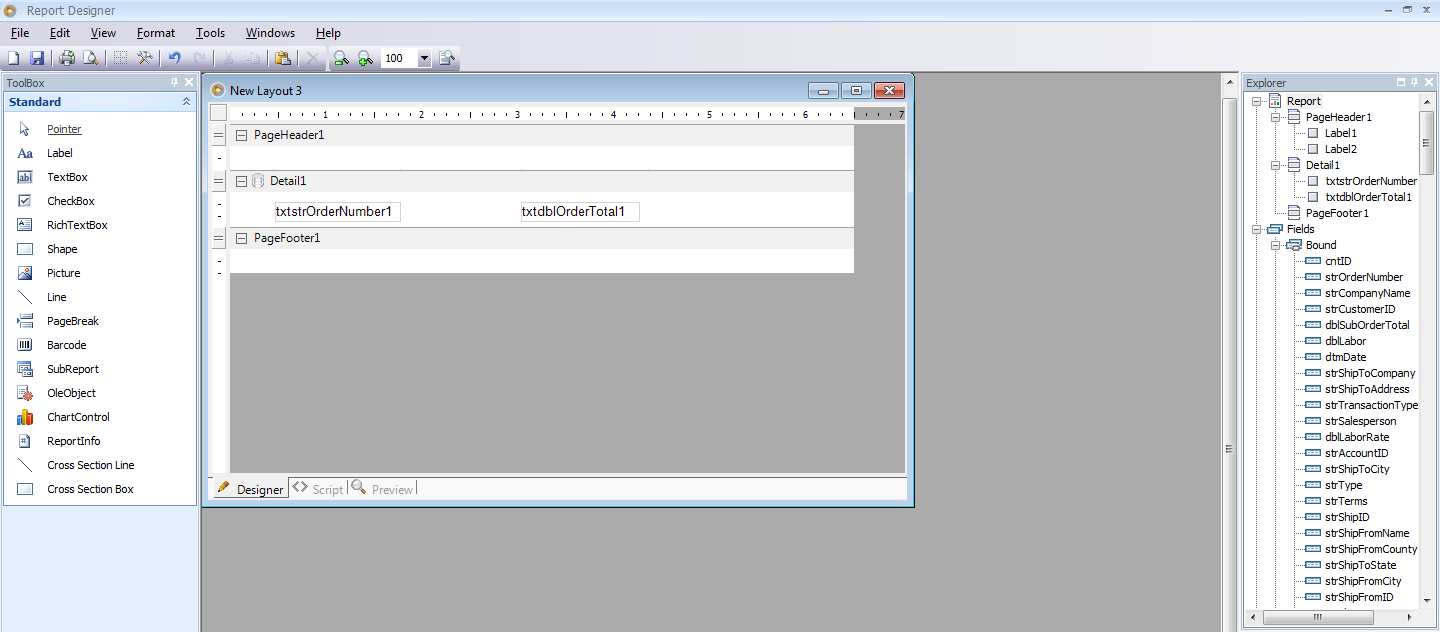
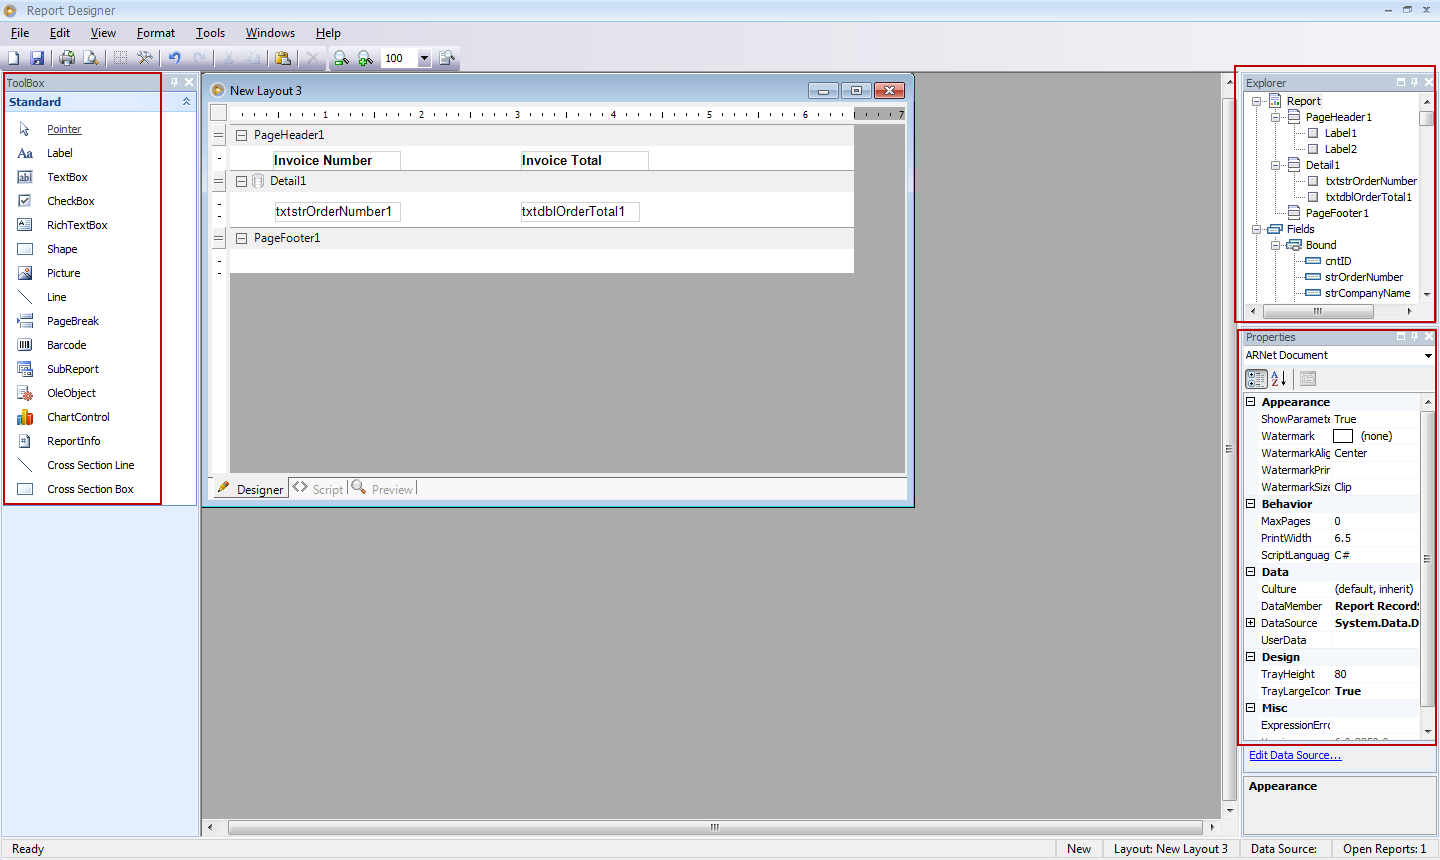
3. Configure the layout of the report by using the ToolBox, Explorer and Properties areas.
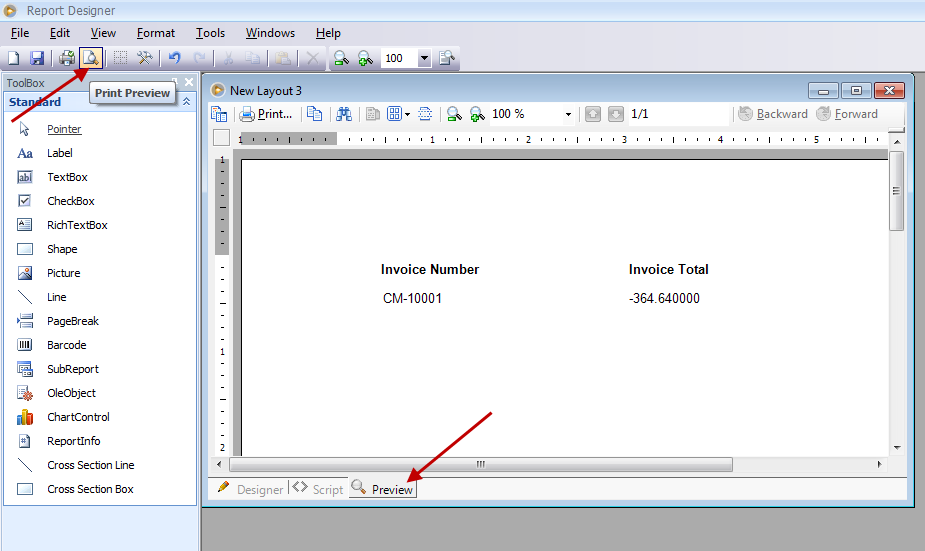
4. You can preview the Custom Report from the Report Designer in 2 ways: (1) By clicking the Preview button from the toolbar (2) By clicking Preview tab at the bottom of the Report Designer.
5. Click Save when finished. The Save Report As form will appear. Enter the Report Name and Report Description and click Save button.
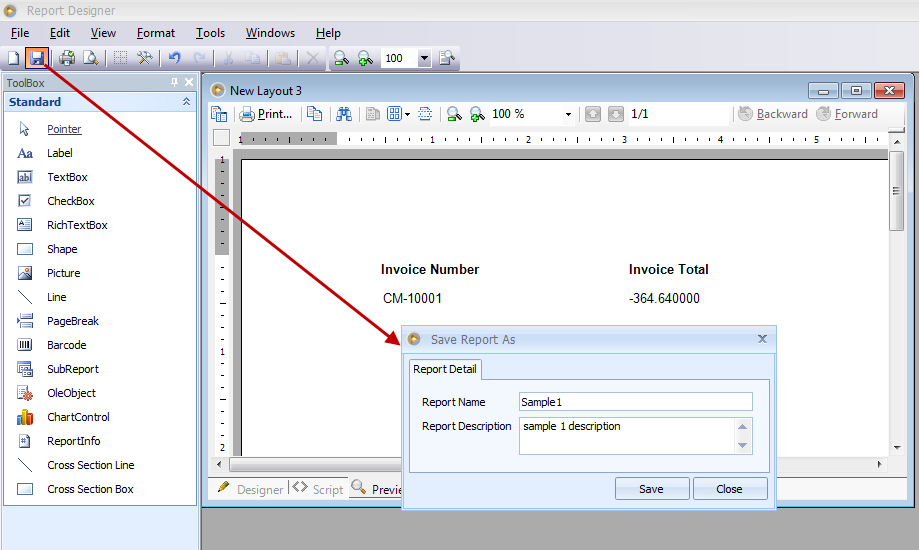
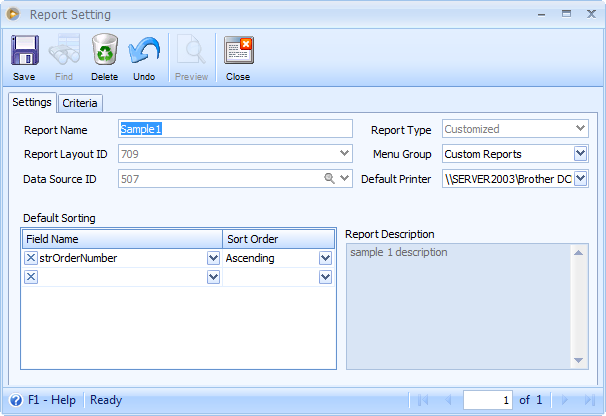
Then the Report Setting form will be shown. In this form, you can configure where you would want the custom report to be grouped under by setting it in the Menu Group, what the Default Printer be and even the Default Sorting.

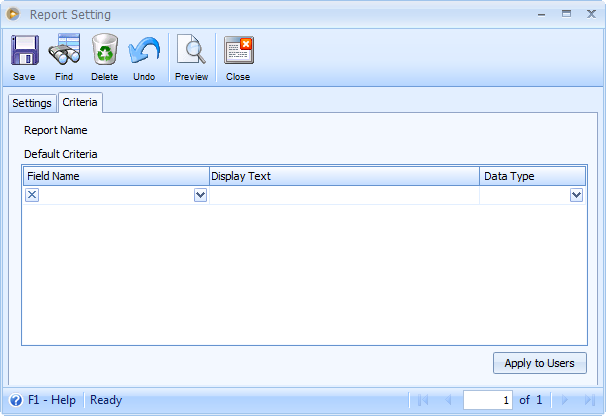
You can also configure the default report criteria in the Criteria tab.
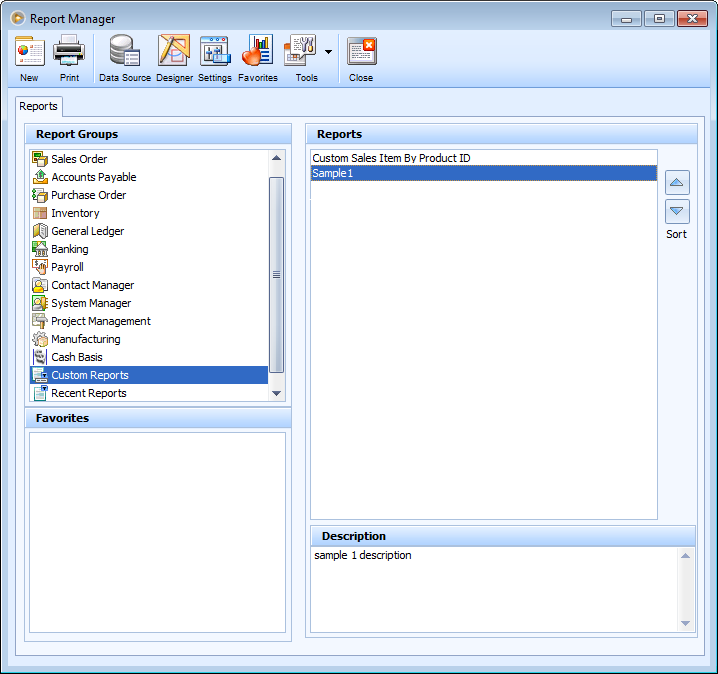
Here is how it will be shown in the Report Manager.
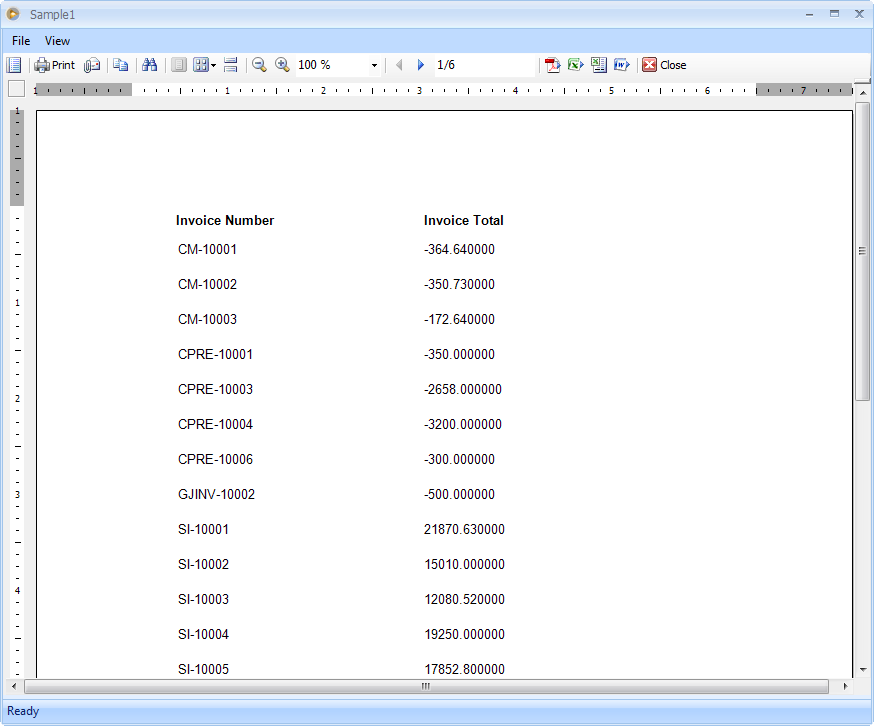
And here is a preview of the report.
