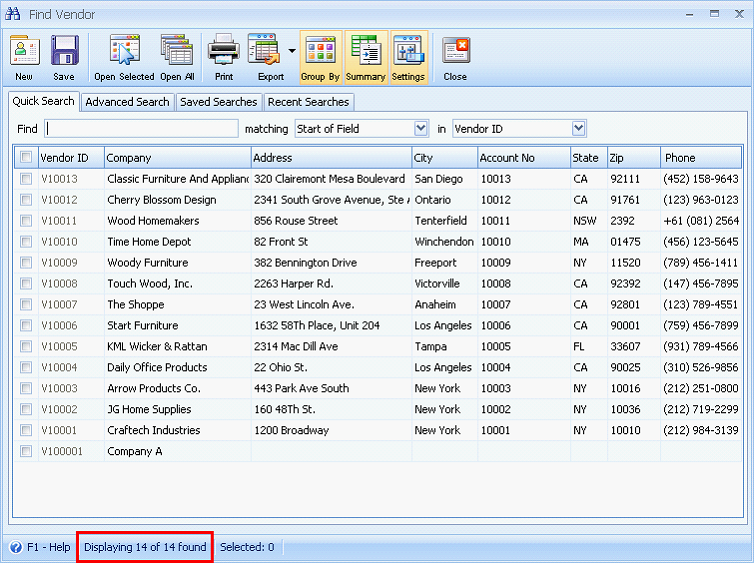
Importing Vendors
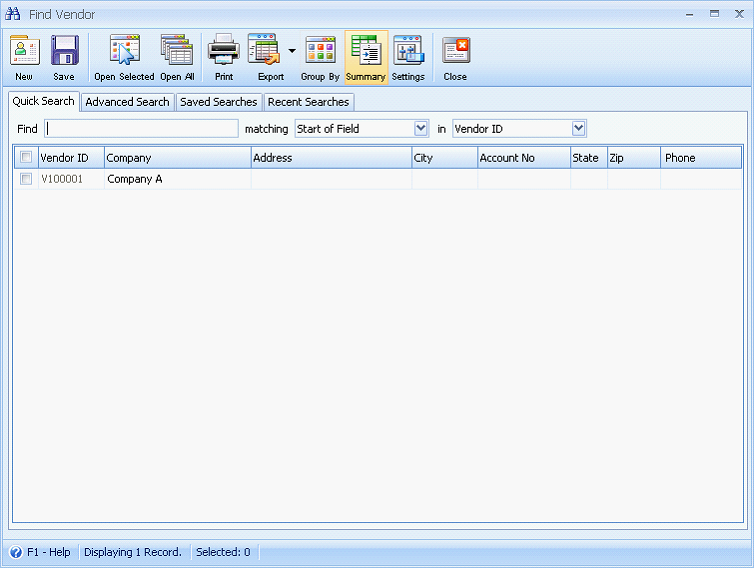
Before importing, say there is only one existing vendor record on your database.
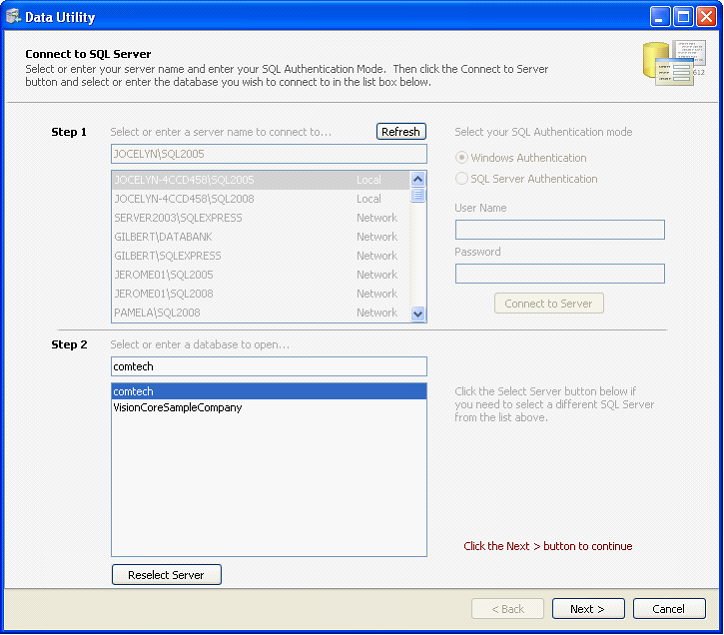
Open the Data Utility form then connect to the server\instance and database where you want to import your vendor records.
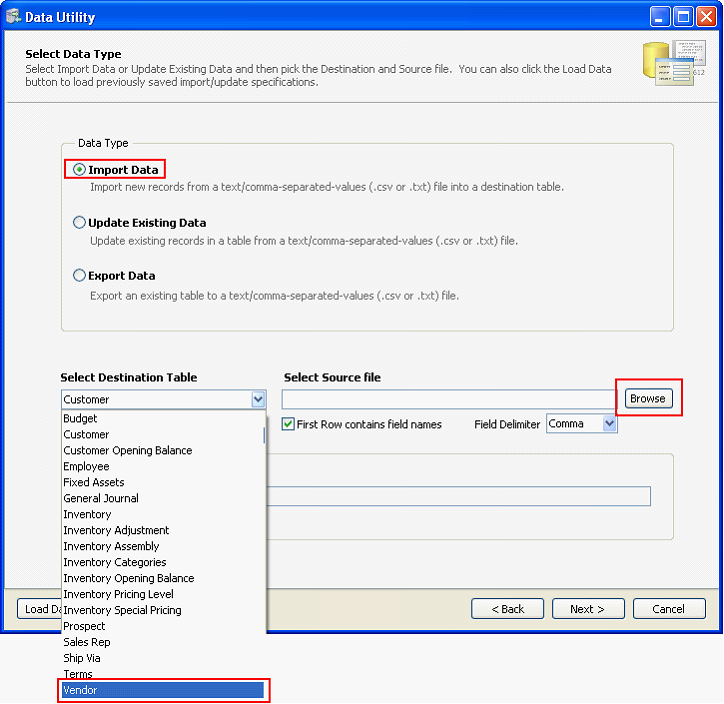
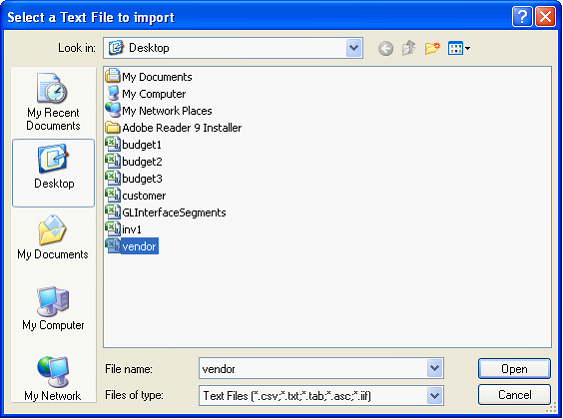
Since you want to import vendor records, choose Vendor on the Select Destination Table. Click Browse button to open the dialogue box wherein you can select the file to be imported.
Click Next and this warning message will appear. Click YES to continue.

This is a sample content of the CSV file that you can import using the Data Utility form. This contains the vendor information. The row highlighted in yellow shows the field names for each detail on the vendor record.
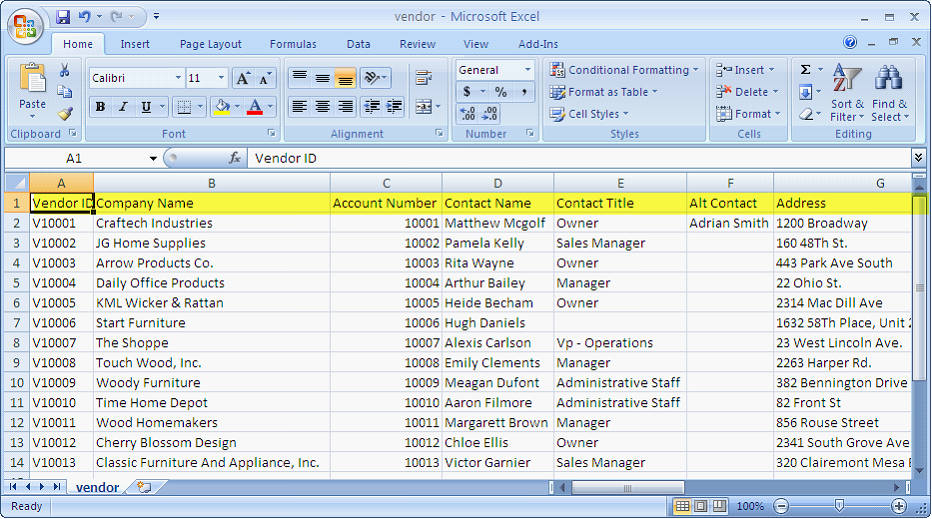
![]() Note that if the CSV file you will import has field names on its first row, then you will need to enable the First Row contains field names option.
Note that if the CSV file you will import has field names on its first row, then you will need to enable the First Row contains field names option.
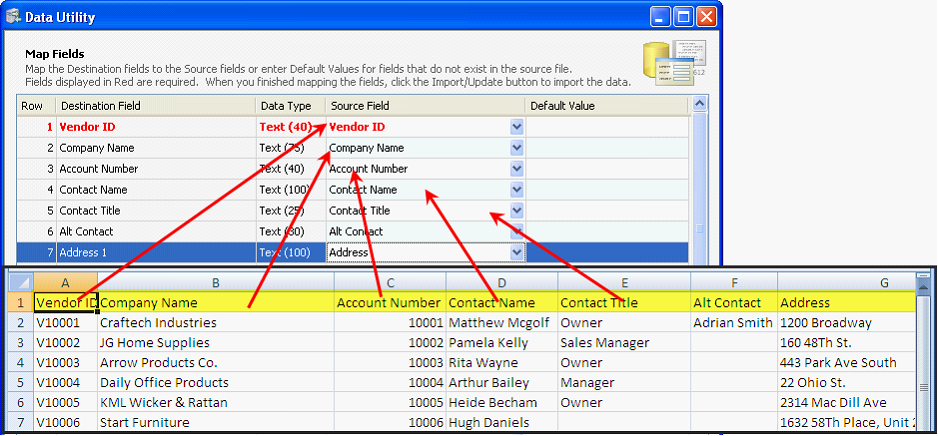
Next step is to map the fields that correspond to each detail on the vendor record.
![]() Note: Fields that are in red indicate that the field is required to be filled in.Default value for Expense ID is not required so you may continue importing even if this field is set to blank.
Note: Fields that are in red indicate that the field is required to be filled in.Default value for Expense ID is not required so you may continue importing even if this field is set to blank.
Click Import button.
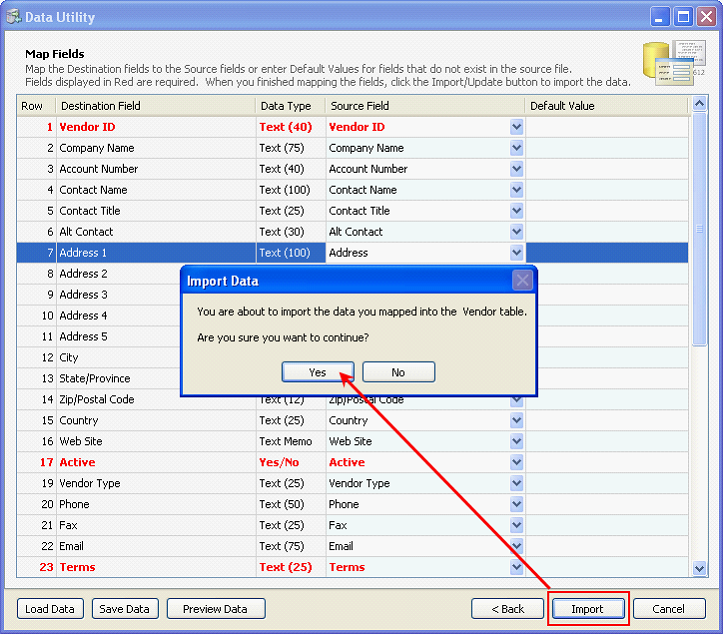
The Processing Data message will appear showing the progress of import.

Once all records are successfully imported, these records will now appear on your database.
