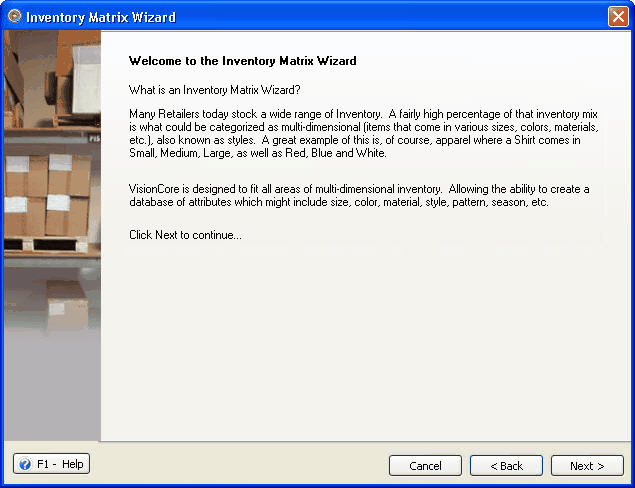
Inventory Matrix Wizard
The Inventory Matrix Wizard is used to add new Matrix items to your inventory. Click Next to continue.
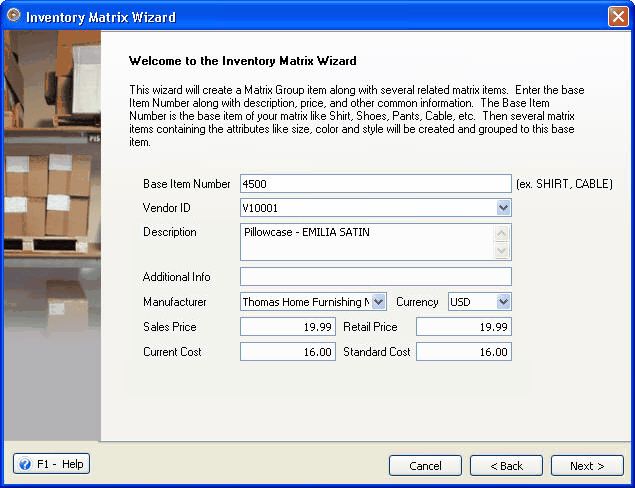
Enter the Base Item Number along with description, price and other common information. The Base Item Number is the base item of your matrix like Shirt, Shoes, Pants, Cable, Pillow etc. This can be a word like PILLOW or a Number like 4500 or any combination of letters and numbers. Eventually when you complete this wizard several matrix items containing the attributes like size, color and style will be created and grouped to this base item. Once you have finished filling in the information for this page click the Next button to continue.
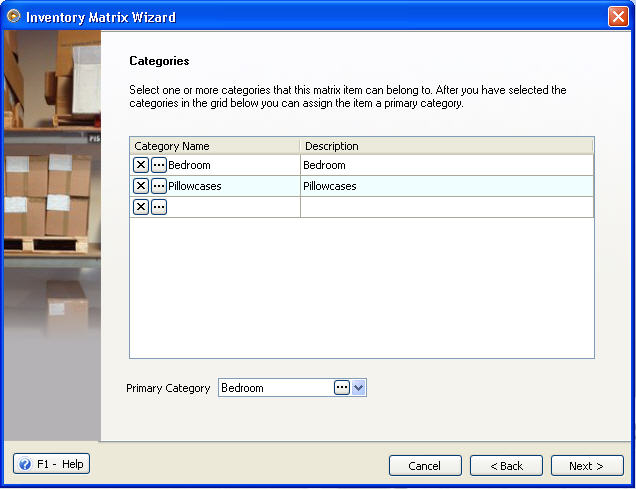
Select one or more categories that this matrix item belong to. After selecting, you can assign the item a primary category.
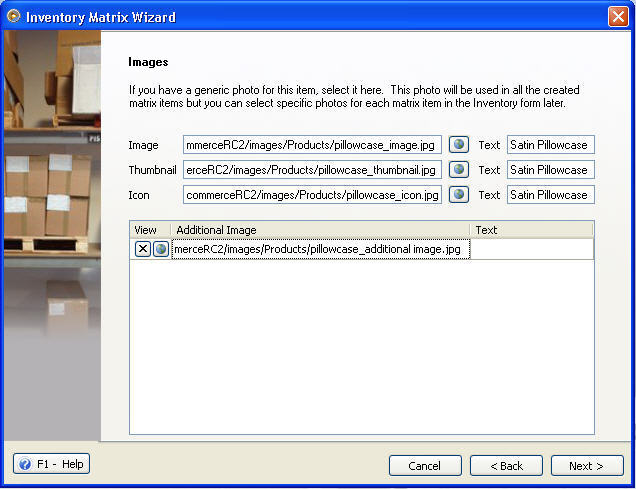
If you have a generic photo for this item you can type its URL here. This photo will be used in all the created matrix items but you can select specific photos for each matrix item in the Inventory form later. Once you have finished filling in the information for this page click the Next button to continue.
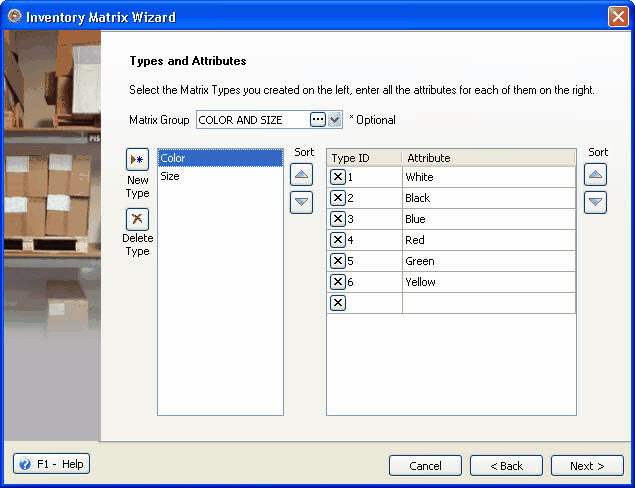
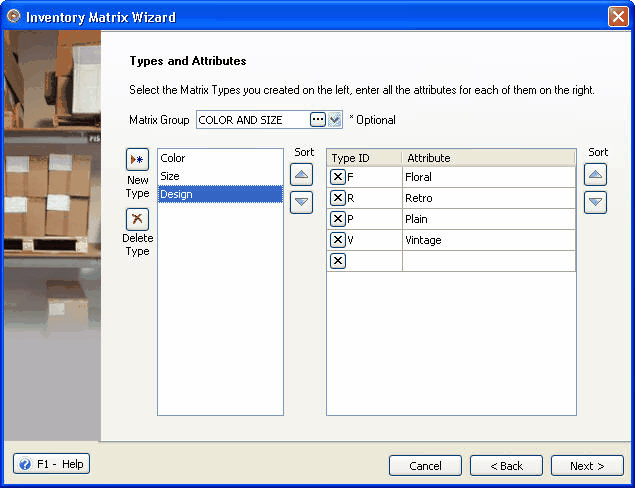
Select the Types and Attributes for your Base Item. Here you can use a predefined Matrix Group that you created in the Inventory Matrix Group form to quickly fill in the Types and Attributes. If you select a Matrix Group it will fill in the Type and Attributes but will allow you to edit it in the wizard. This will not affect the Inventory Matrix Group you selected in any way. So you can think of the Matrix Groups as Type & Attribute Templates that quickly setup your matrix but with the ability to change any part of it if you wish.
In the example below the Color and Size group was selected. This group normally has 5 colors but notice I added Yellow to the list which now gives me 6 colors for this particular type. Remember you are not affecting the original Inventory Matrix Group by doing this. The original Group still has the 5 colors when you use it the next time. If you wanted to add Yellow to this group you would need to open the Inventory Matrix Group form and add it there.
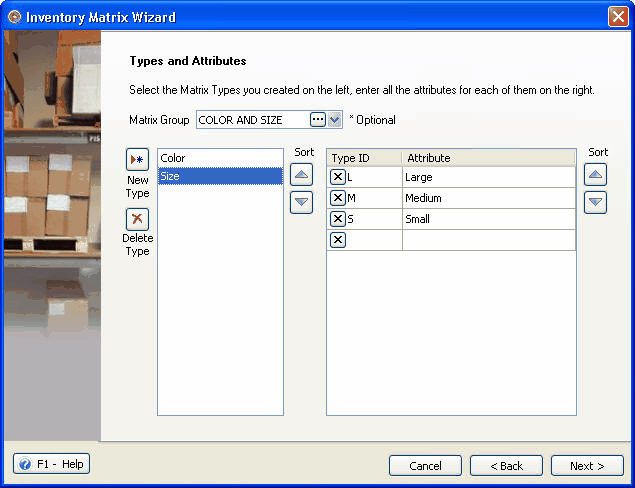
In the Size type there was normally 4 sizes for this group but I deleted X-Large leaving only 3 sizes.
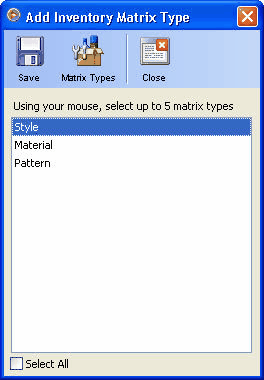
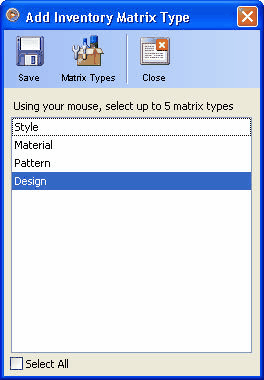
Let us say I wanted to add a new Type to this Base Item. I could do this by clicking the New Type button which opens the Add Inventory Matrix Types form. This form lists all the existing Types that were setup in the Inventory Matrix Types form. You can select any type from this list or click the Matrix Types button to edit them. In this case I want to add a new Type called Design which does not exist. So click the Matrix Types button to open the Inventory Matrix Types form where I can add it.
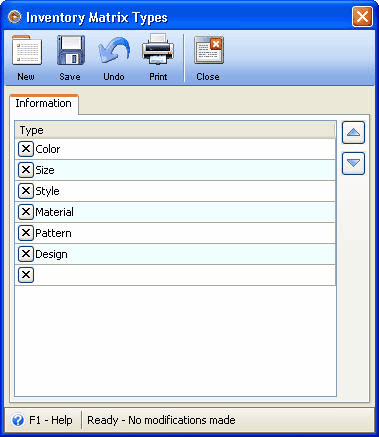
In the Inventory Matrix Types form I add a new type called Design. When you close this form it will automatically refresh the Add Inventory Matrix Types form where you can now select it.
Now you will see the new Design type which you can select. Click the Ok button to add it back on the Wizard to the Type list.
Now I have a new Type called Design which I manually added Floral, Retro, Plain and Vintage attributes to. Once you have finished filling in the information for this page click the Next button to continue.
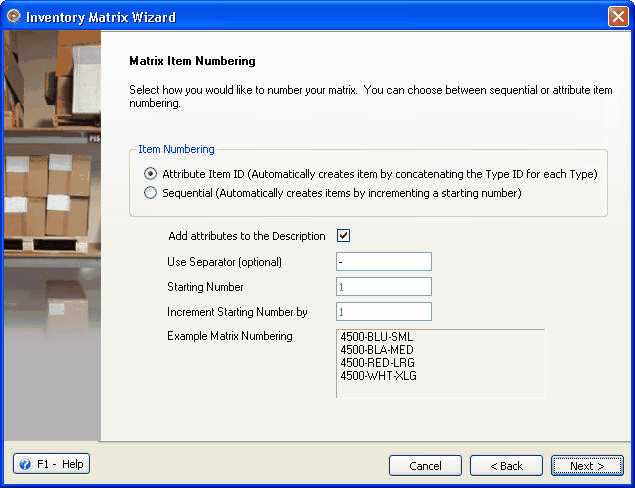
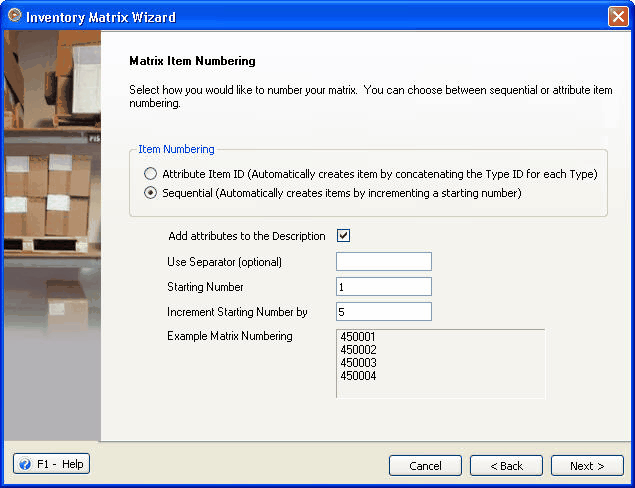
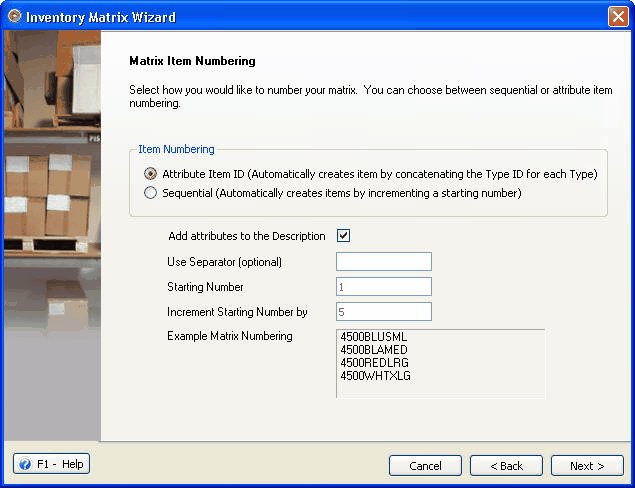
On the Matrix Item Numbering page you can pick between Attribute Item ID Numbering or Sequential Numbering. If you select Attribute ID numbering it will automatically create your matrix items by concatenating the Item ID you used for each type. Once you have finished filling in the information for this page click the Next button to continue.
On the Preview page you can see how the new Matrix Items will be created and what individual Item Numbers will be used for each of them.
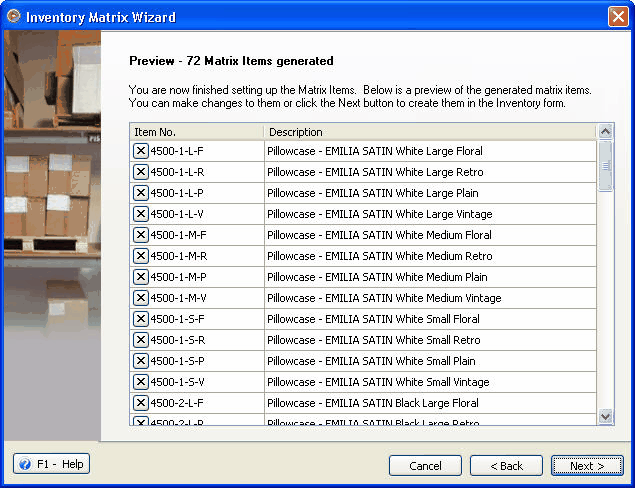
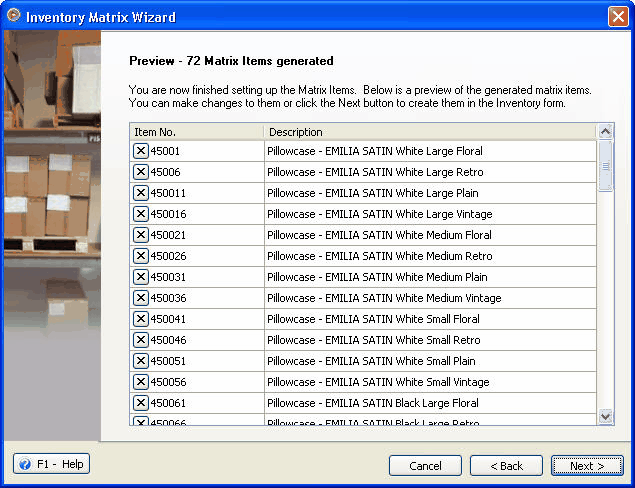
You can click the Back button on the Preview page if you wish to change the Matrix Item Numbering. In this case select Sequential which will simply add a starting number to the end of your Base Item Number and increment by the number you choose. In this case we will start with 1 and increment the number each time by 5.
On the Preview page you can see how the Matrix Numbering would look.
For this example we will go back and use the Attribute Item ID Numbering but without a Separator character.
Now you will see the results without a separator. Once you have finished filling in the information for this page click the Next button to continue.
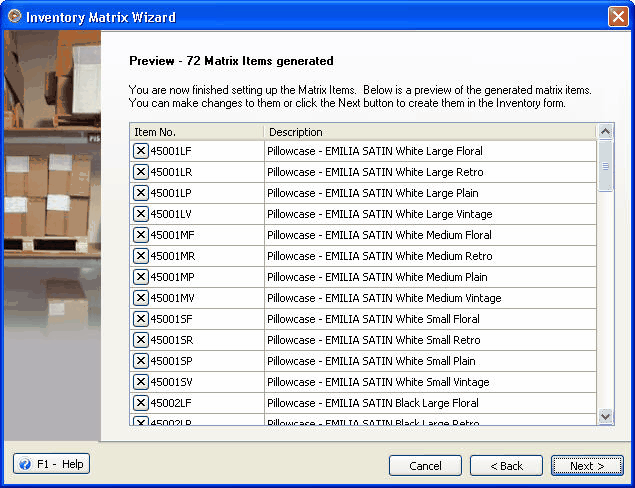
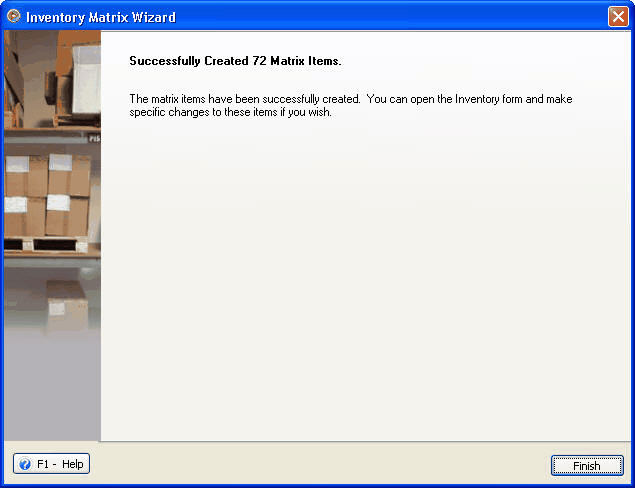
Your Inventory Matrix Items will be created now and you can click the Finish button to close the wizard.
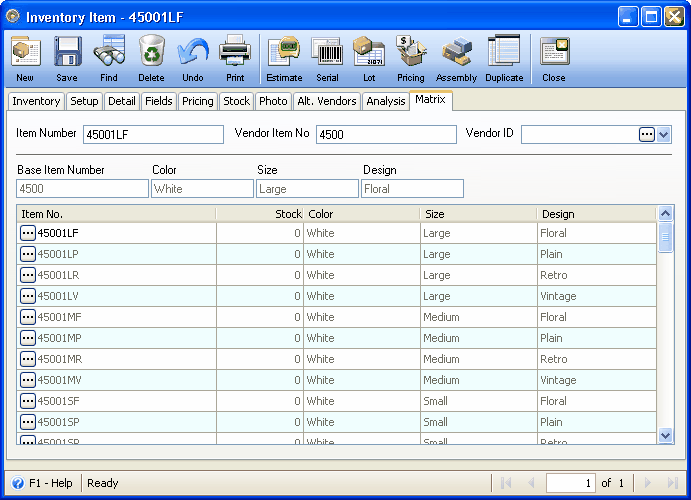
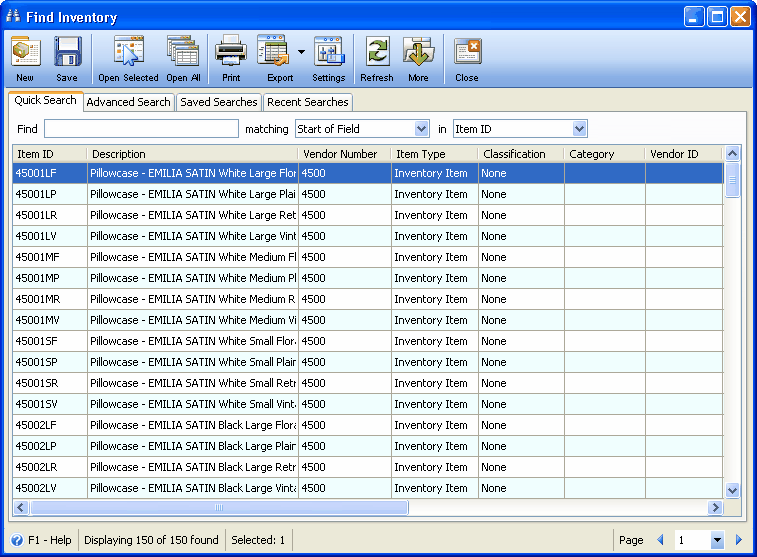
Open the Inventory Items form and you will see all the Inventory Matrix items that were created using the Inventory Matrix Wizard.
If you open the Inventory Items form to a Matrix Item you will notice that a Matrix tab appears. The Matrix tab will display the attributes for the selected matrix item along with a list of all the related matrix items. You can click the ellipse button to navigate to a different matrix item if you wish.
