Installing TimeClock Plus
There are two very important backend requirements:
•TimeClock Plus 6.0 uses a SQL database. The minimum server supported is MSDE 2000. Microsoft SQL Server 7.0 is NOT supported!
•Microsoft .NET 3.5 with Service Pack 1. If this is not detected then it will be installed from the Setup menu.
For installing without existing MSSQL Server, install first Database Engine. This will install Microsoft SQL Express 2005 which is provided with your copy of TimeClock Plus 6.0. This will create an instance called timeclockplus.
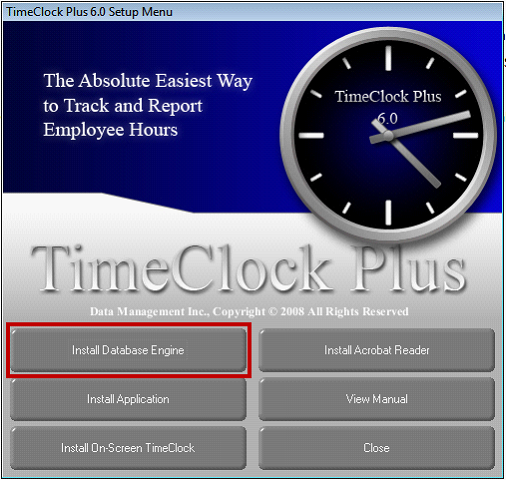
![]() Note that if you have an existing SQL server (MSDE 2000 is the minimum) where you want to host the TimeClock Plus database then skip this step.
Note that if you have an existing SQL server (MSDE 2000 is the minimum) where you want to host the TimeClock Plus database then skip this step.
Click Install Application to start installing TimeClock Plus.

If you are to configure already installed TimeClock Plus, enter the server install on the space provided. If this is this your first install, then leave the space blank.
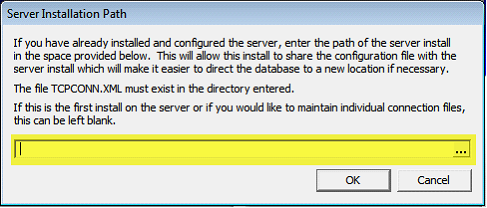
Clicking OK button will start your TimeClock Plus installation.
Click Next.
Review the License Agreement and, if you Accept the terms, select I accept the terms in the license agreement, and click Next.

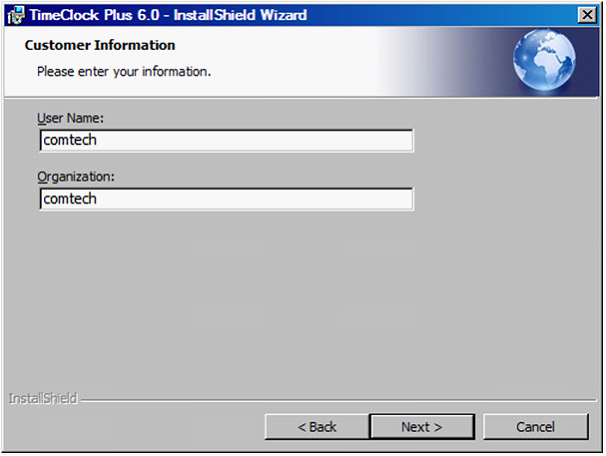
On the Customer Information screen, enter your User Name and Organization/Company Name, and click Next
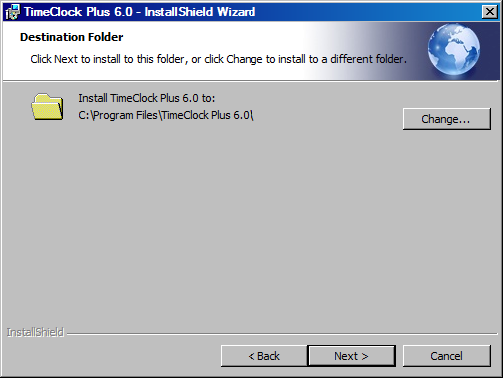
Click Next to accept the default path unless a different destination is desired.
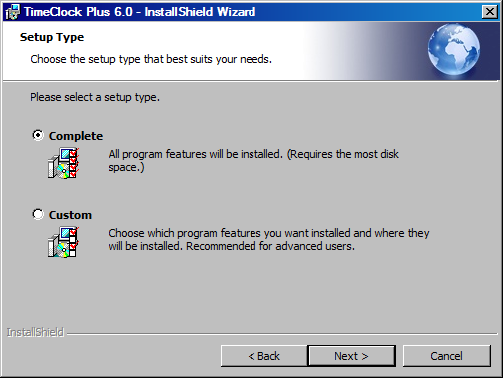
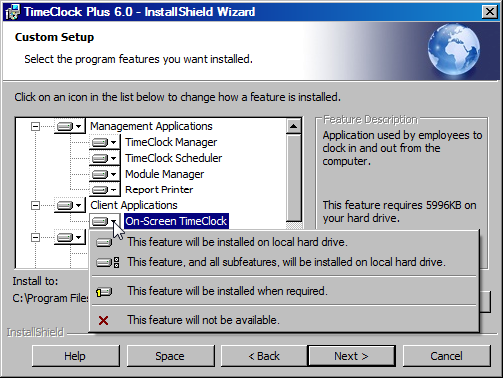
Select the desired setup type and click Next.
•Complete – If selected, all of the applications will be installed.
•Custom – If selected, you will be able to choose from a list of the applications to install.
If you selected the Custom setup then choose the components you wish to install by clicking on the icon next to an application and choosing whether you wish to install that application or make it unavailable.
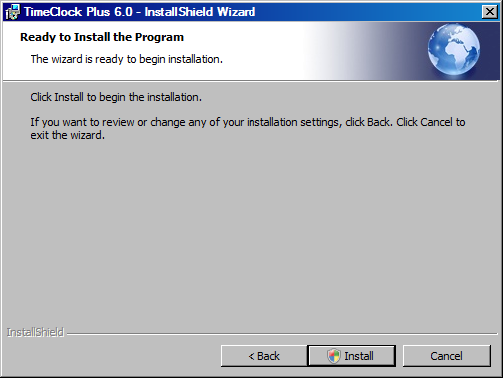
Click Install.
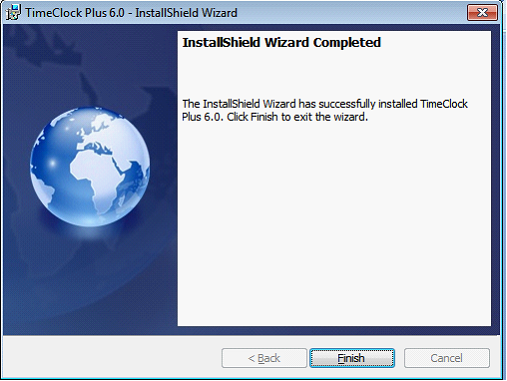
Now that TimeClock Plus is already installed, click Finish button to close the form.