Installing VisionCore on your Server
1.Run VisionCore.exe to open the InstallAware Wizard.

Before you can install VisionCore, you need to have Microsoft .NET Framework 3.5 SP1 or greater installed on your machine. Once the InstallAware detects that you don’t have this program, you will be brought to the Required Programs screen, which provides a link where you can download it. Once you have installed Microsoft .NET Framework 3.5 SP1 or greater, click Retry to continue.
If you already have Microsoft .NET Framework 3.5 or greater installed prior to running the VisionCore.exe, the installer would skip this screen and would go directly to the Welcome screen.
2.When the verification of contents of the setup package is done, you will be brought to the Welcome screen. Click Next to continue on the License Agreement.

3.In the License Agreement screen, read the license agreement and check the I accept the terms of the license agreement checkbox if you agree, then click Next to continue.

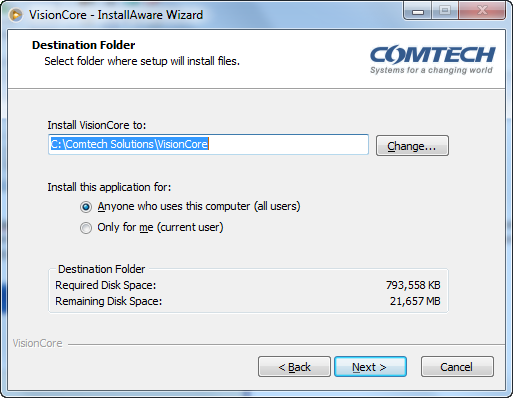
4.By default, the destination path is C:\Comtech Solutions\VisionCore. You may also change this by clicking the Change button then, select another path to install VisionCore to. To install the application for all users, click the Anyone who uses this computer (all users) radio button or if you want to install for current user only, choose Only for me (current user) radio button. Click Next to continue.
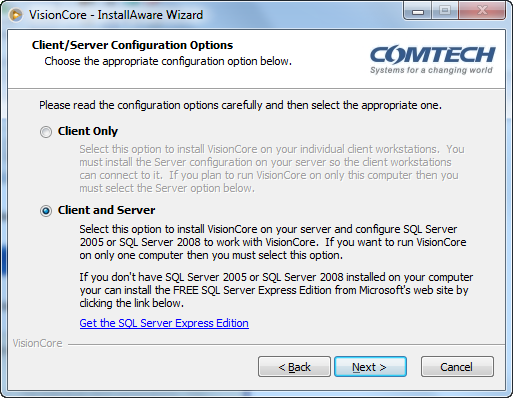
5.In the Client/Server Configuration Options screen, select Server to install VisionCore on your server. Click Next to continue.
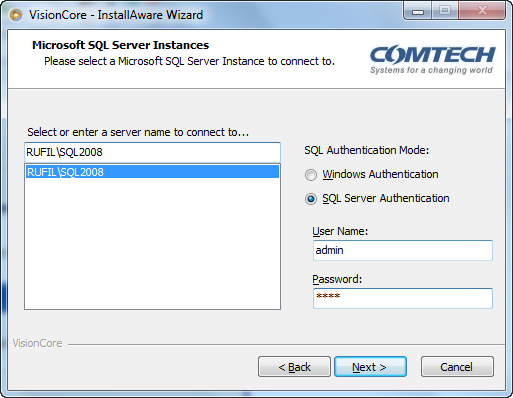
6.In the Microsoft SQL Server Instances screen, choose the server\instance name you would want to connect to.
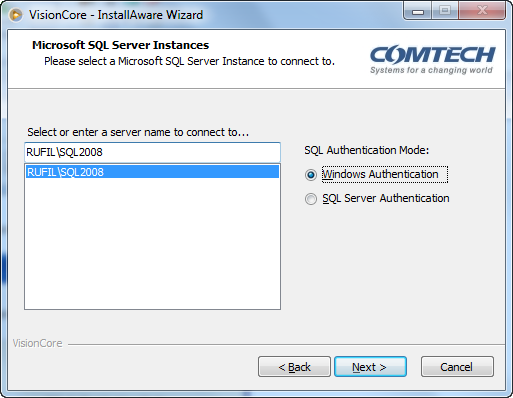
In the SQL Authentication Mode, this option may work depending on your SQL server installation.
![]() If Windows Authentication Mode is selected on your SQL Server setup, then you will only be allowed to use Windows Authentication option when connecting on your server.
If Windows Authentication Mode is selected on your SQL Server setup, then you will only be allowed to use Windows Authentication option when connecting on your server.
![]() If SQL Server and Windows Authentication mode is selected on your SQL Server setup, then you can either use Windows or SQL Server Authentication when connecting on your server.
If SQL Server and Windows Authentication mode is selected on your SQL Server setup, then you can either use Windows or SQL Server Authentication when connecting on your server.
This screenshot shows SQL Server setup.
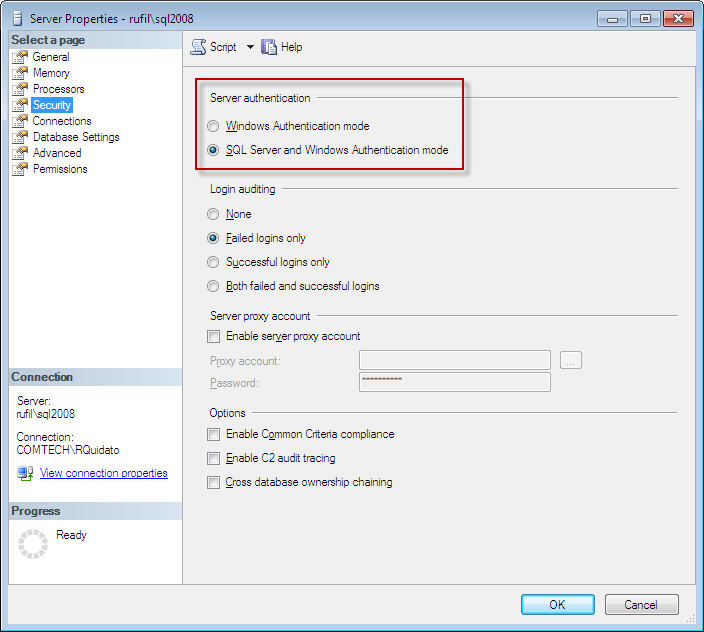
If SQL Server Authentication is selected, you will have to enter a Login ID and Password in SQL Server.
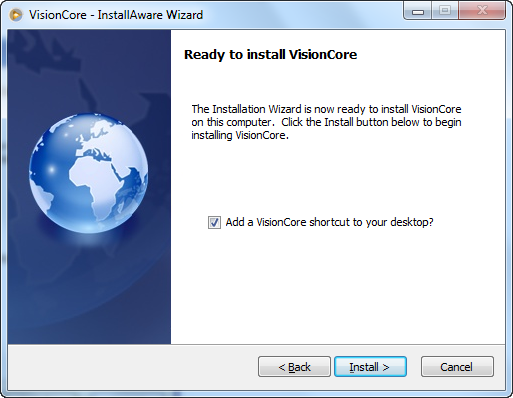
7.You are now ready to install VisionCore. Select the option Add a VisionCore shortcut to your desktop to create a shortcut on your desktop when the installation is done. Click Install to continue.
![]() Note that by default there will also be a VisionCore Menu located in the Start Menu > All Program > Comtech Solutions.
Note that by default there will also be a VisionCore Menu located in the Start Menu > All Program > Comtech Solutions.
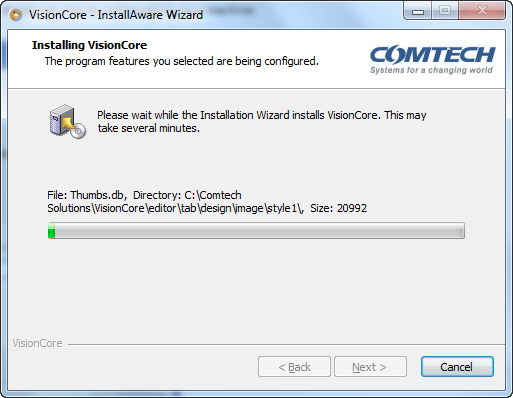
8.In the Installing VisionCore screen, VisionCore features are now being configured on your machine.
9.The Important Information screen displays some notes when logging in to VisionCore. Click Next to continue.
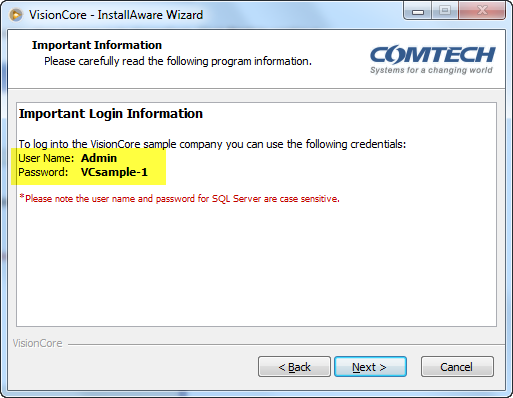
![]() Please take note of the User Name and Password. You will use this to log into the VisionCoreSampleCompany.
Please take note of the User Name and Password. You will use this to log into the VisionCoreSampleCompany.
10.In the last screen of the installation, select the option Run VisionCore Now to open the VisionCore log in form right after clicking Finish.

Now that the server PC is ready, let us proceed to Installing VisionCore on workstations.