Create a New Company Database
1. Select or enter a server name and instance to connect to.
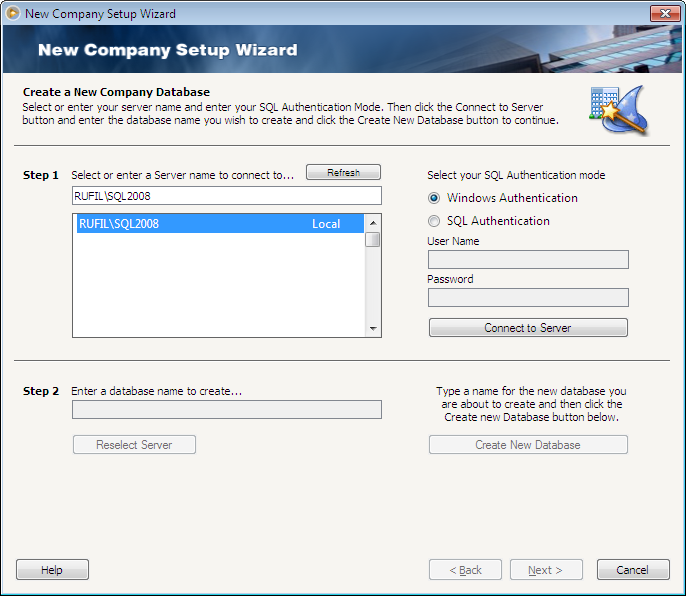
You may also use the Refresh button to refresh the list of the server/instance on your local station as well as other servers connected on your network.
In the Select your SQL Authentication Mode area, select your SQL Authentication mode and click Connect to Server button. This option may work depending on your SQL server installation.
This screenshot shows SQL Server setup.
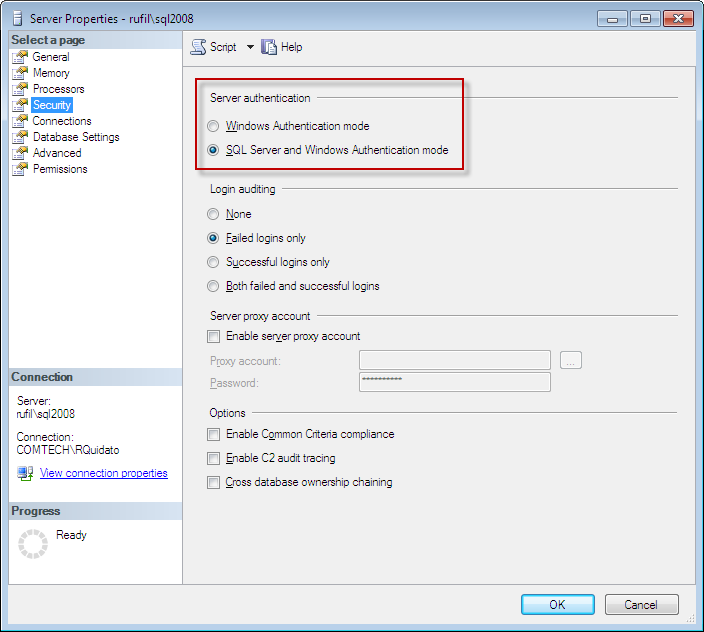
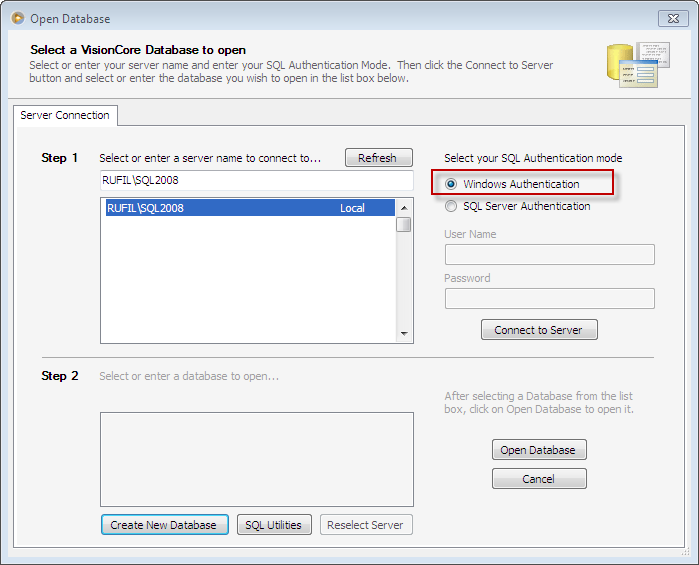
![]() If Windows Authentication Mode is selected on your SQL Server setup, then you will only be allowed to use Windows Authentication option when connecting on your server.
If Windows Authentication Mode is selected on your SQL Server setup, then you will only be allowed to use Windows Authentication option when connecting on your server.
![]() If SQL Server and Windows Authentication Mode is selected on your SQL Server setup, then you can either use Windows or SQL Server Authentication when connecting on your server. You will also need to enter a User Name and Password recognized by the SQL Server.
If SQL Server and Windows Authentication Mode is selected on your SQL Server setup, then you can either use Windows or SQL Server Authentication when connecting on your server. You will also need to enter a User Name and Password recognized by the SQL Server.
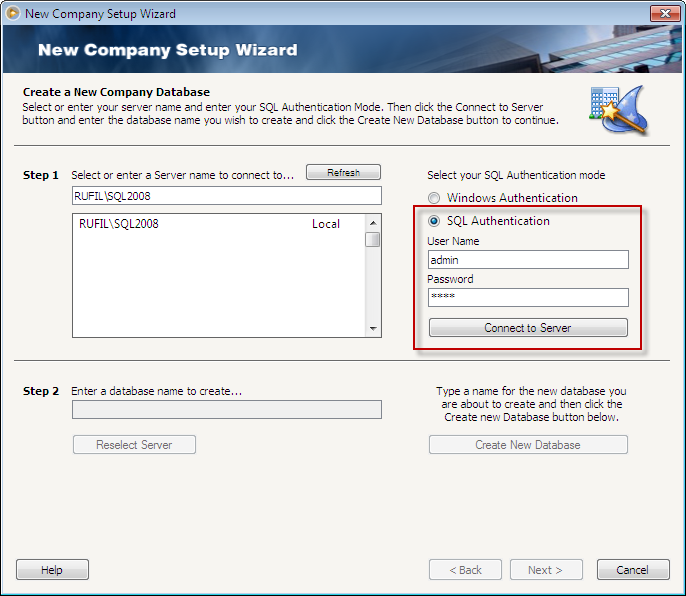
Click Connect to Server button to connect to the selected server.
2. Enter a Database Name and click Create New Database button.
![]() Note that a maximum of 100 characters only is allowed for Database Name.
Note that a maximum of 100 characters only is allowed for Database Name.
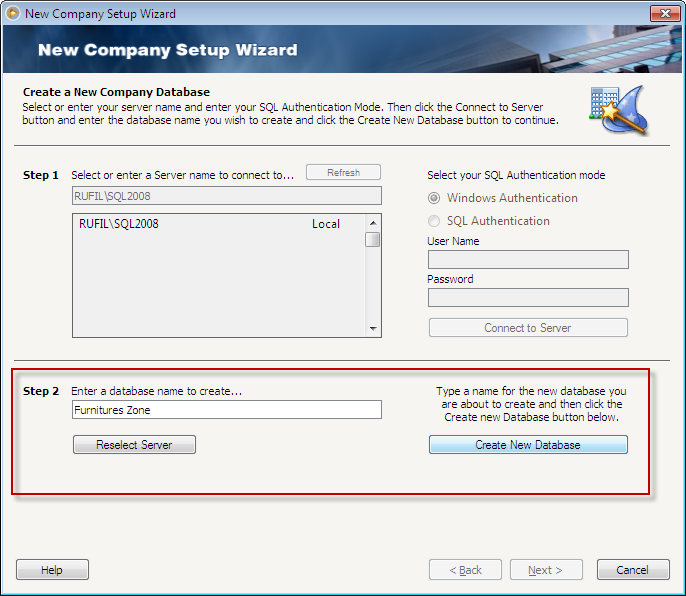
Once created, a message will prompt you that the Company database has been created successfully. Click OK on that message box to move to the next step.

Click Security User to move you to the next topic.