Creating TimeClock Plus Database
If you don’t have any TimeClock database, you can create through Database Manager.
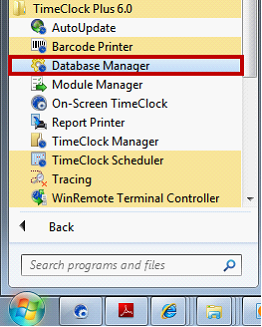
Select Database Manager from your TimeClock Plus installation folder or click from the Start Menu.
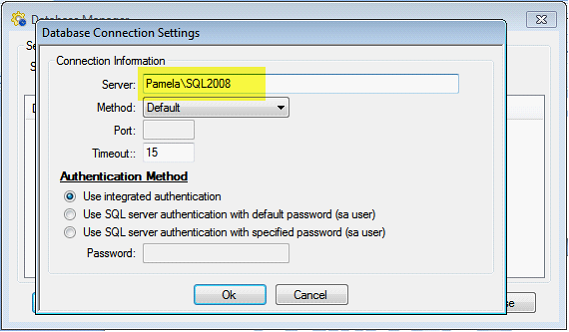
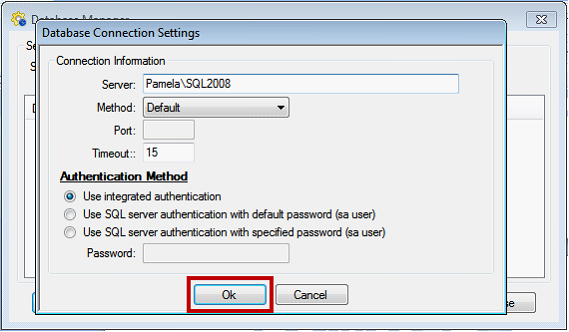
Enter SQL Server and Instance. This may be your existing SQL Server and instance or the newly installed SQL through Database Engine.
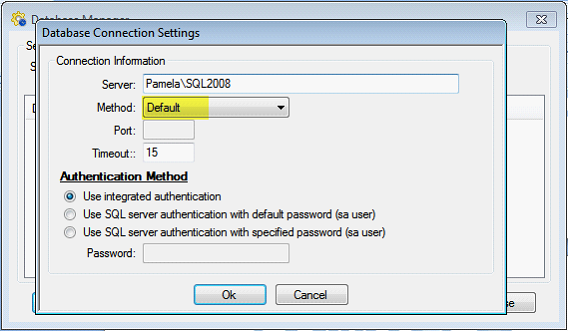
Select the Method to connect or leave as Default. The Default method means that SQL will use what it thinks is the best way to connect to the instance. If you select TCP/IP then specify the port you are using for SQL.
Enter Authentication Method.
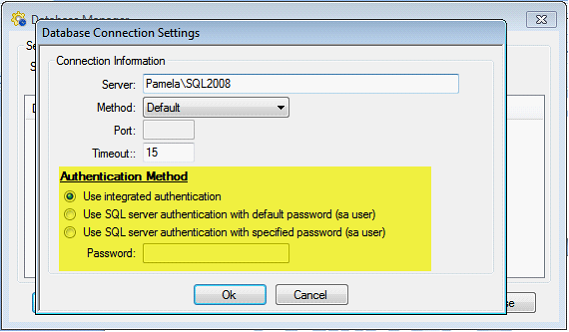
•Use integrated authentication – If selected, a user name and password will not be necessary since it is authenticating through Windows instead of SQL. For this to work, the Windows user must be added as a login with permissions to the TimeClock Plus database.
•Use SQL server authentication with default password (sa user) – If selected, the sa user’s default password will be used. If you installed the SQL Express 2005 included with TimeClock Plus 6.0 then select this (unless the sa user’s password was changed since then). If it was changed then you can select the last option (to use the specified password) and enter the new password.
•Use SQL server authentication with specified password (sa user) – If selected, it will authenticate the SQL user and password entered.
Click OK to close the Database Connection Settings form and start creating database.
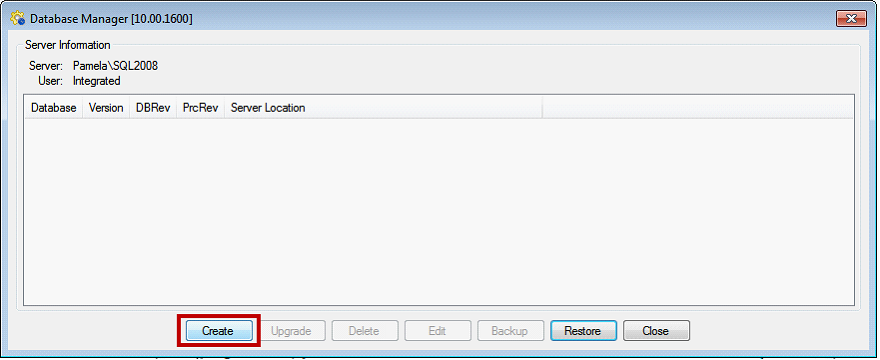
Click Create button from Database Manager form.
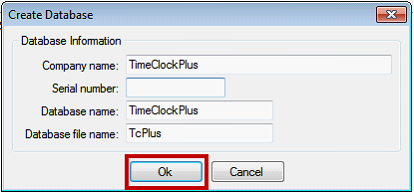
Fill up the fields from Create Database and click OK.
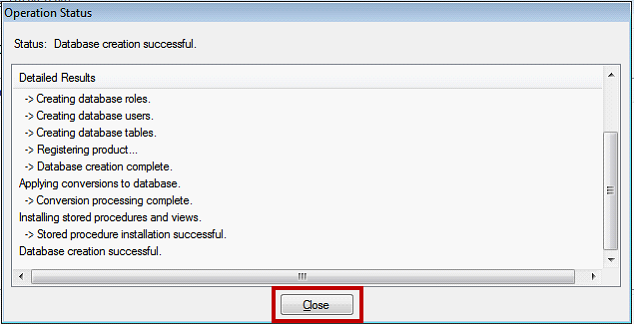
Operation or database creation will automatically start. Wait until database is successfully created. Click Close.
After database is created, it is displayed on Database Manager form. You are allowed to create another database, upgrade, delete, edit, backup and restore existing database by clicking on the options below the form.
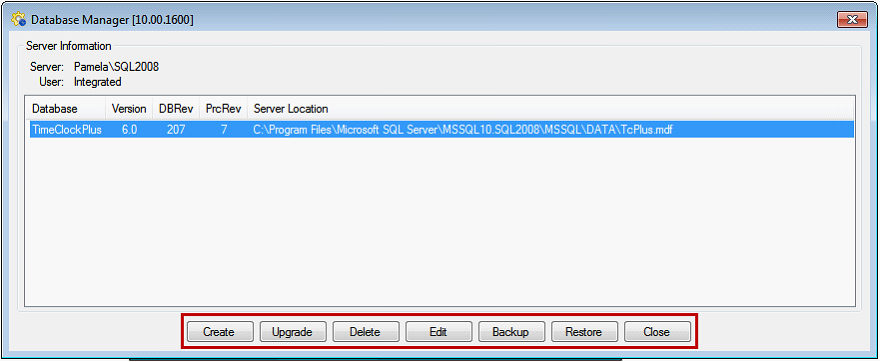
Click Close to close the form.